 SQL Server Express 2019 Installation Instructions
Background
Sentinel Visualizer uses data stored in industry-standard, ODBC-compliant, Microsoft SQL Server databases. Microsoft SQL Server can be hosted on a dedicated server in your organization or in a cloud host like Microsoft Azure or Amazon Web Services (AWS).
You can also install a free copy of Microsoft SQL Server Express on your PC. This is a local instance of SQL Express (as opposed to a shared/networked instance of Microsoft SQL Server). The databases you create in Sentinel Visualizer can reside in this local instance.
System Requirements
- Windows Operating System
- Windows 10, 11, and Windows Server 2016, 2019, 2022 or later
- Processor
- Processor speed of 1.4 GHz or more
- RAM
- Minimum 1 GB
- Hard Disk Space
- 6 GB of Disk Space, plus space for your databases and checkpoints.
Limitation: Microsoft SQL Server Express supports 1 physical processor, 1 GB RAM, and databases less than 10 GB each.
For more details visit SQL Server 2019 Hardware and Software Requirements.
Install SQL Server Express 2019
- Download and run the Sentinel Visualizer SQL Express 2019 setup using this link:
- Accept the 'Choose Directory For Extracted Files' by clicking [OK].
- The files are extracted and the setup launches.
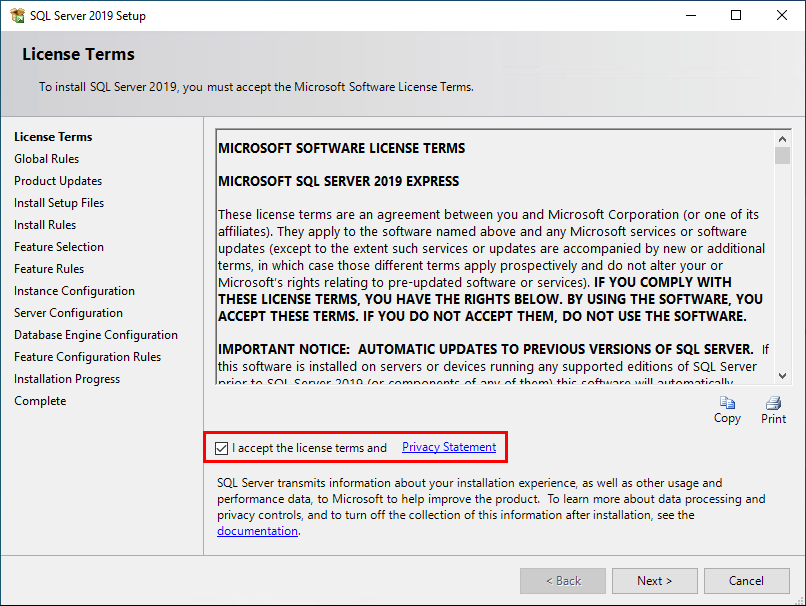
- In the 'License Terms' window, check the box next to "I accept the license terms and Privacy Statement" and click [Next].
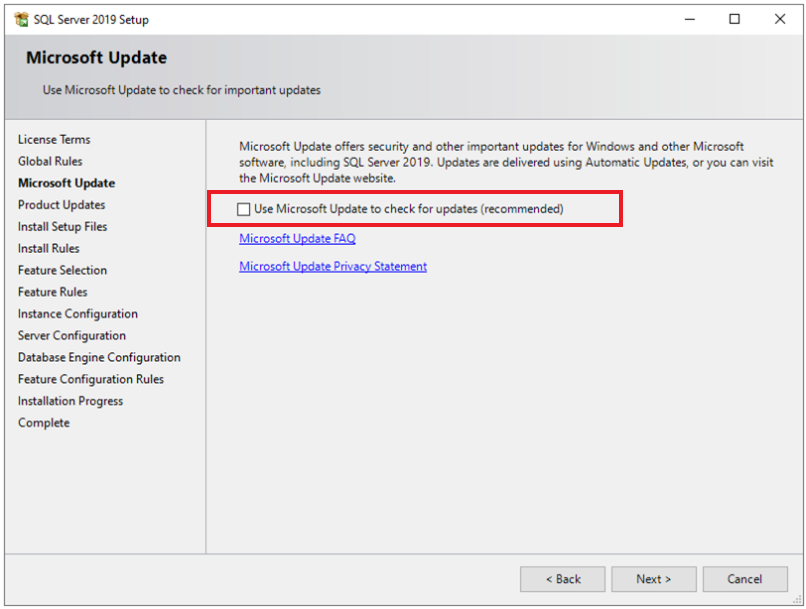
- In the 'Microsoft Update' window, we recommend that you check the box, "Use Microsoft Update to check for updates (recommended).
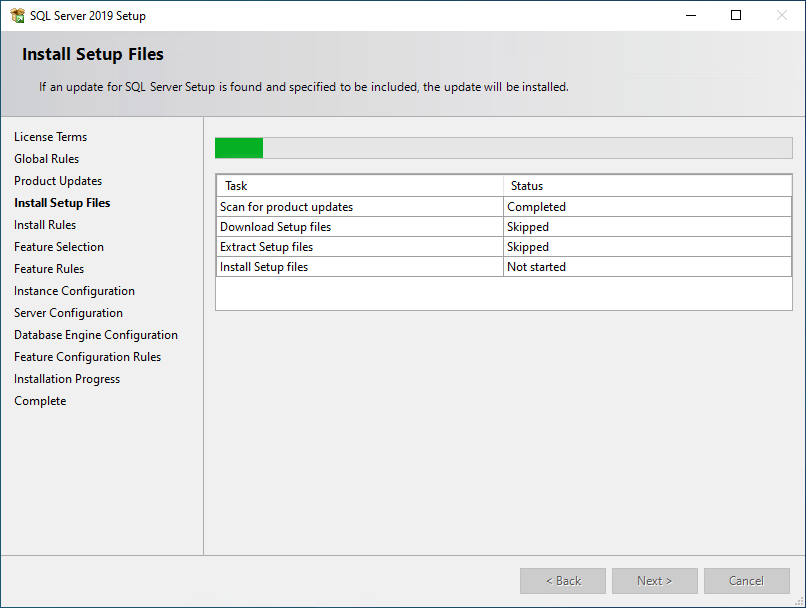
- Wait for the Setup Files to install.
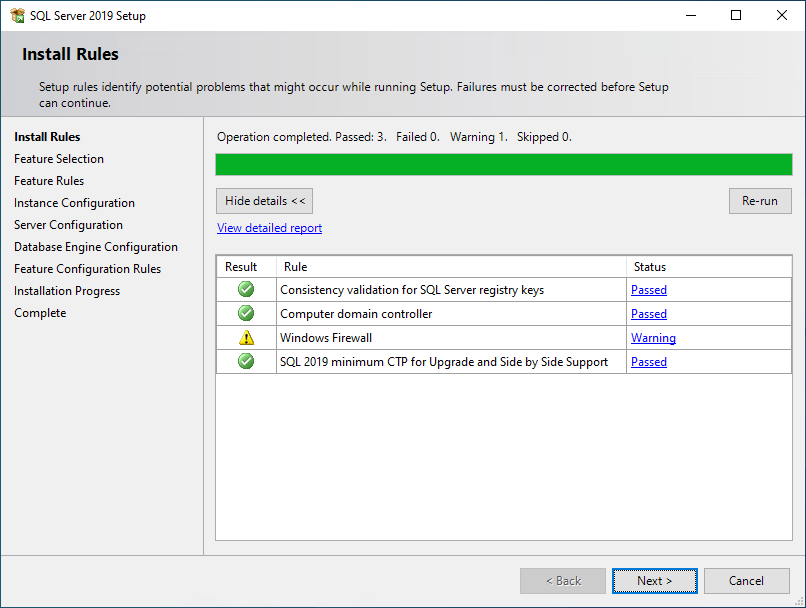
- When the 'Install Rules' window appears, click [Next].
(Note: Ignore the warning for the Windows Firewall.)
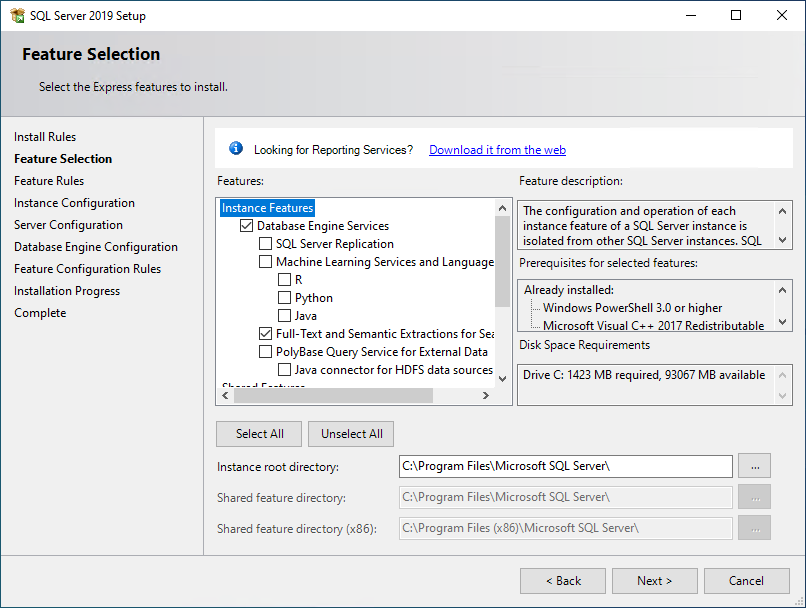
- In the 'Feature Selection' window, verify the options match this screenshot. Click [Next].
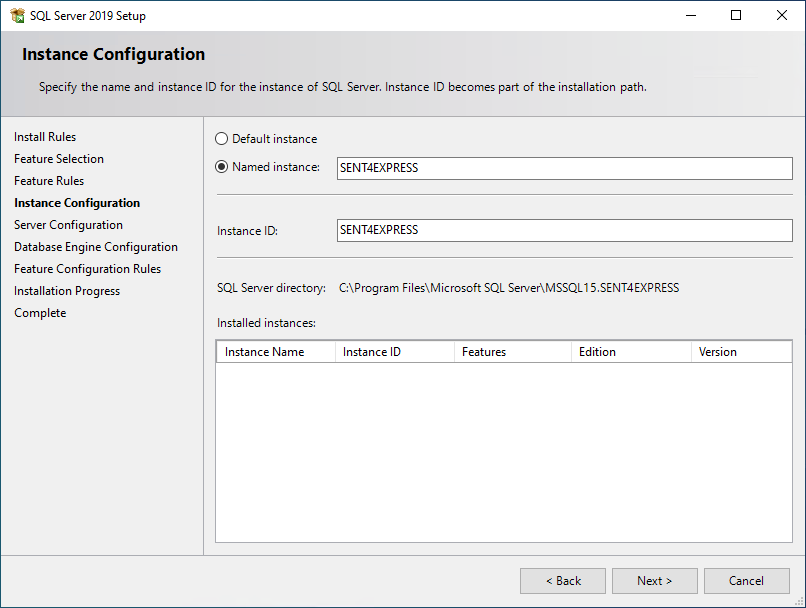
- In the 'Instance Configuration' window, verify the instance name is SENT4EXPRESS and click [Next].
DO NOT change the instance's name.
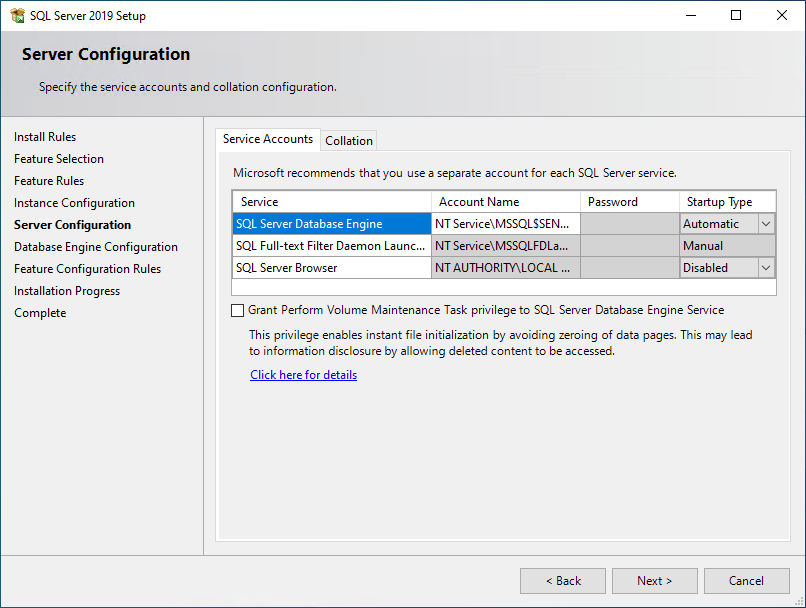
- In the 'Server Configuration' window, DO NOT change any of the Startup Types. Click [Next].
-
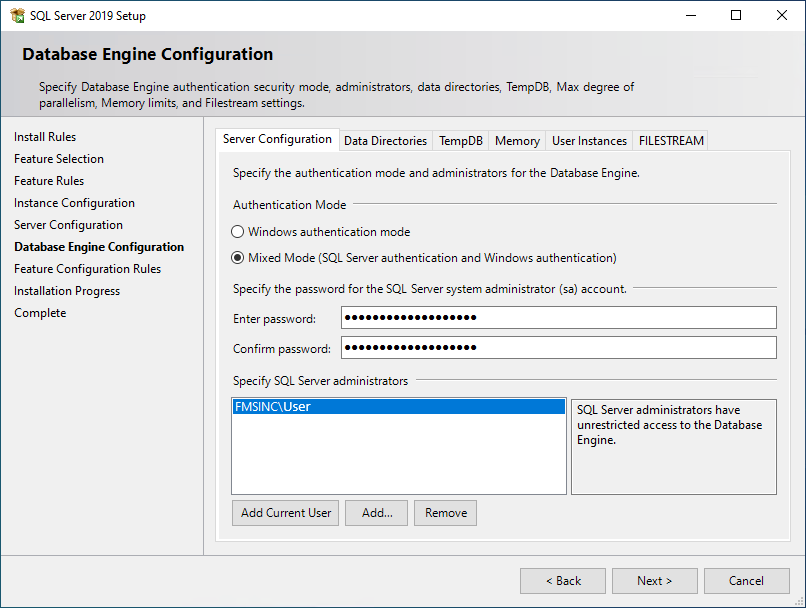
The Database Engine Configuration screen appears. Keep the default options and press [Next]: Do not change the password!
- Wait for the installation to complete.
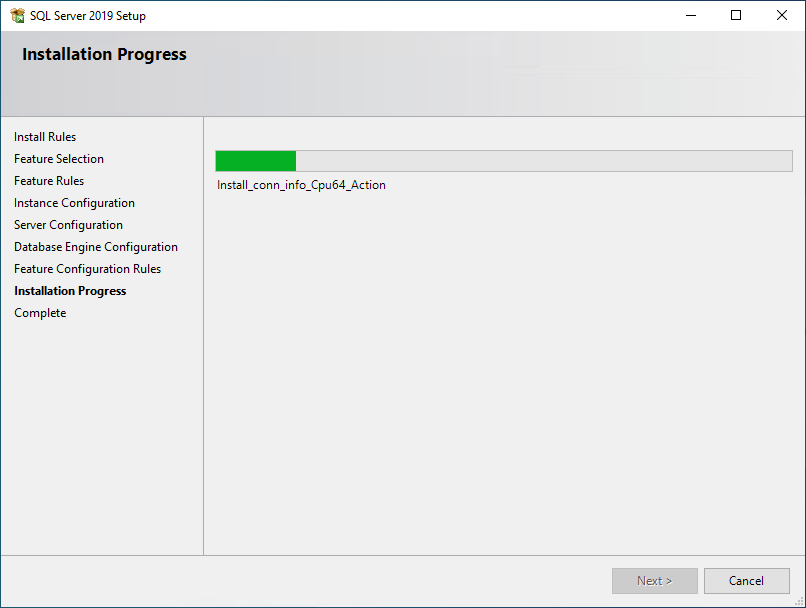
- When the installation has been successfully completed, click the [Close] button.
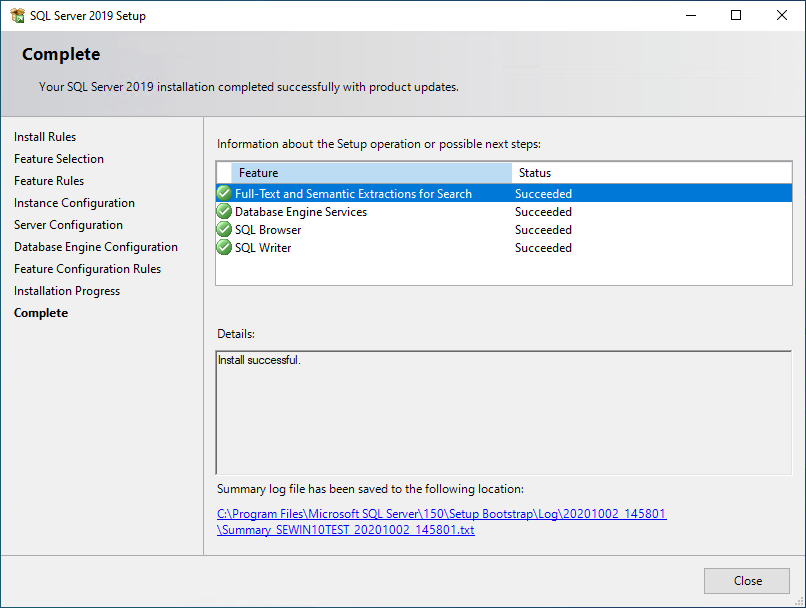
Press [Close]. The installation of the Sentinel Visualizer instance of SQL Express is successful. You should now be able to run Sentinel Visualizer with local databases.
Install Document Searching
If Word, Excel, and PDF documents are uploaded for your entities and relationships, Sentinel Visualizer can search the text in those documents. Follow these steps to add this functionality to your SQL Server installation.

